How to Build a Floating Deck in Your Backyard
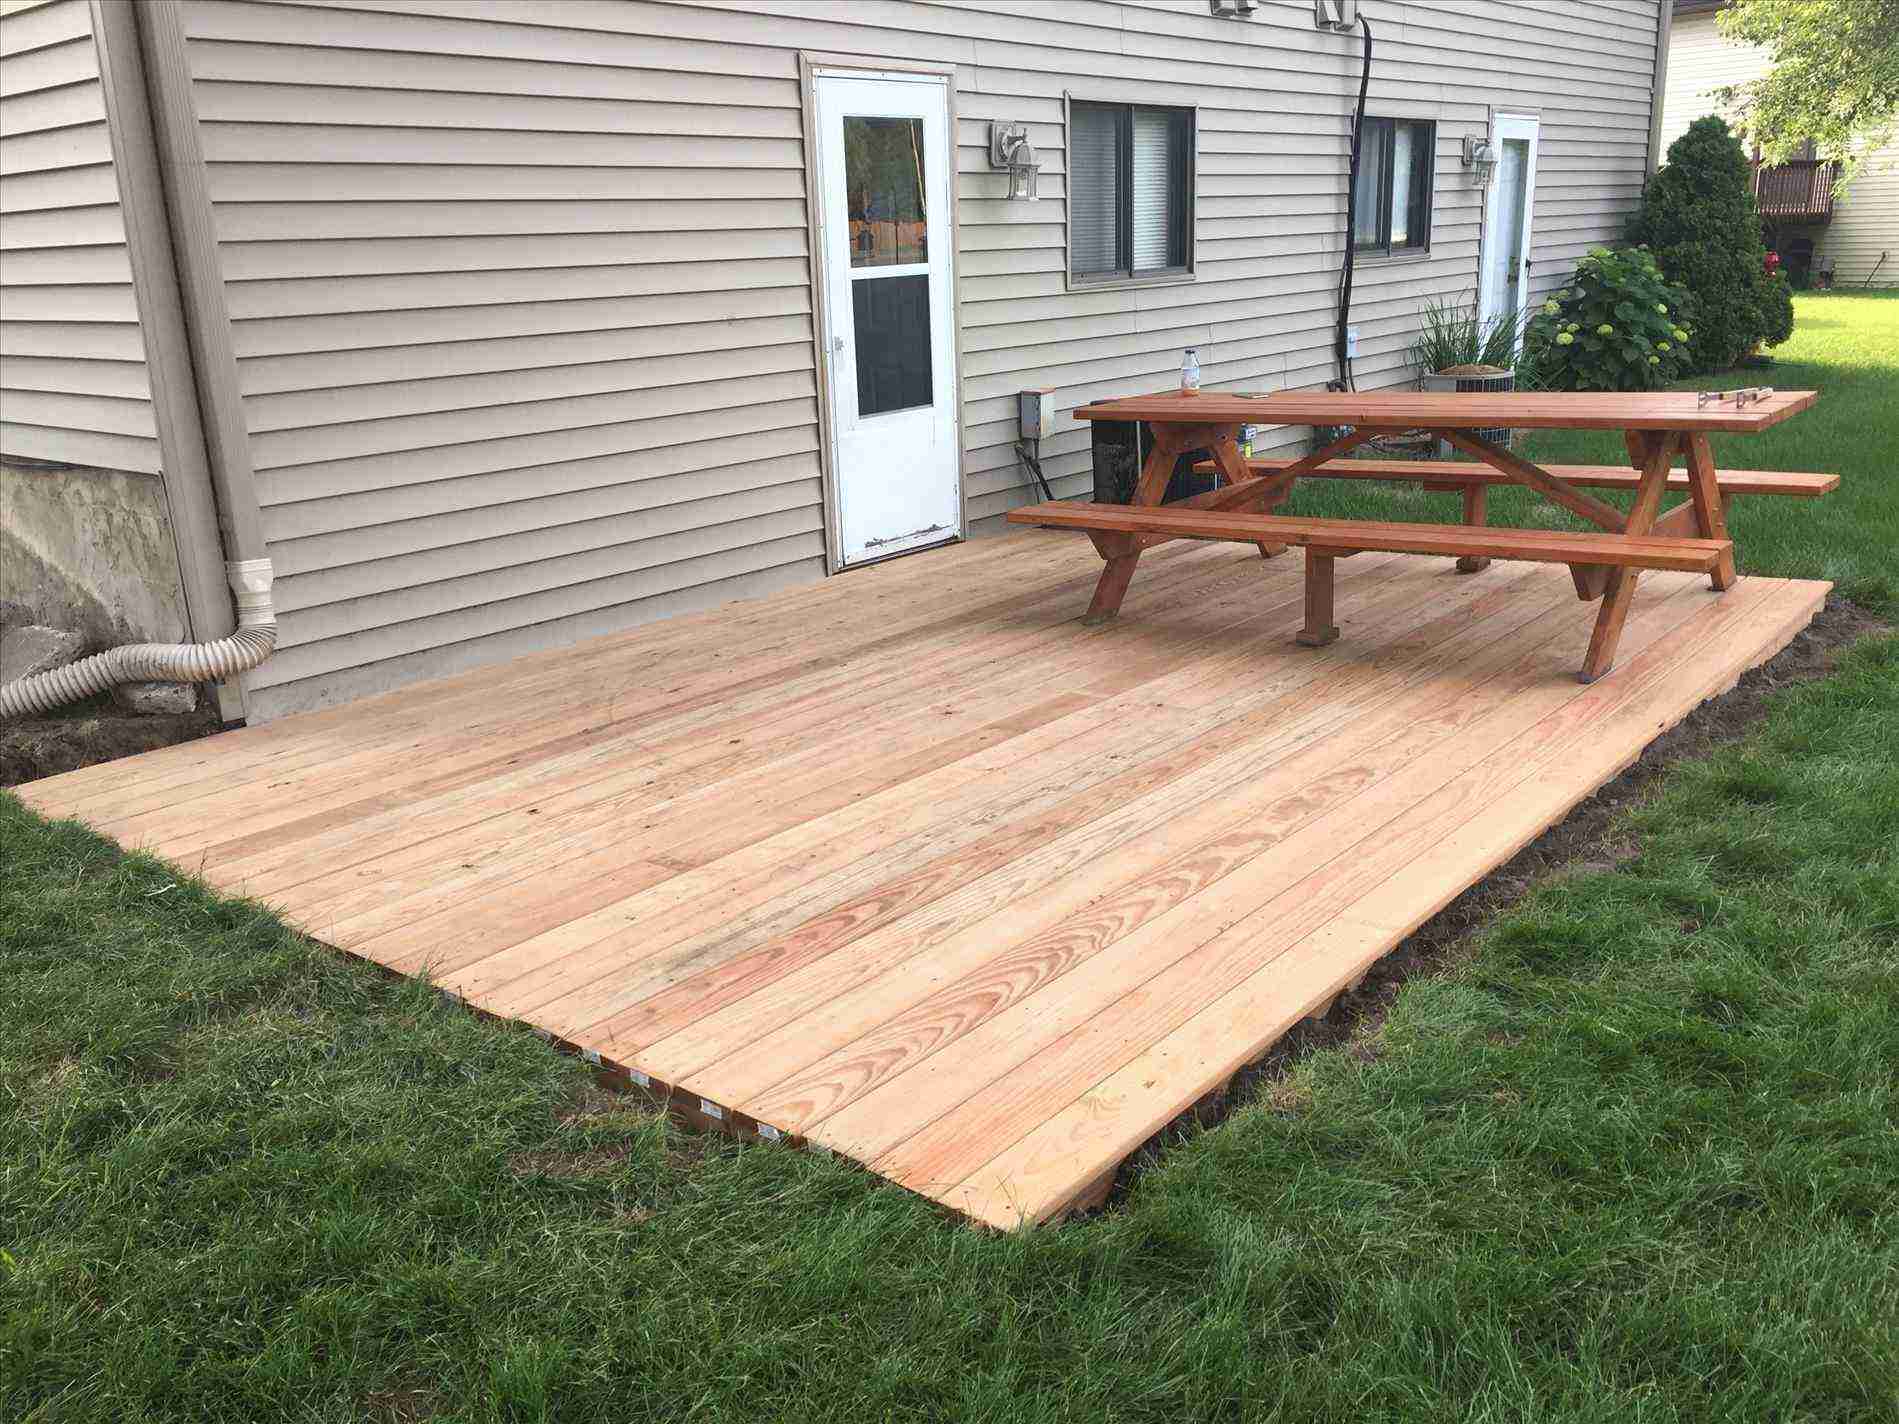
A floating deck is one that is not attached to any structure and “floats” over the ground. Floating decks are typically low to the ground, with no need for handrails or even ladders. Because they’re erected slightly above the ground level, or grade, they’re sometimes referred to as “grade-level” or “freestanding” decks. You can either buy specific deck-supporting blocks or use normal solid concrete blocks (the type without holes), which are less expensive and have a lower profile.
Floating decks are simple, appealing, and relatively straightforward to construct. A floating deck may give your backyard a much-needed platform for patio furniture, a barbecue, a hammock, and other outdoor luxuries. Anyone can have a good time building a floating deck.
The actual benefit of building your own floating deck, though, is the money you can save in the process. A deck is a wonderful addition to any house. It will undoubtedly increase its value, as well as improve the appearance of your home. If you enjoy hosting events and gatherings in your house, such as parties, a floating deck is a must-have.

How to Build a Floating Deck
1. Step 1: Get the right tools
To create a deck, you don’t need a store full of tools. Here’s a rundown of what I consider to be essential:
- Waw horses
- Rubber mallet or a tamper
- Yard tools such as; shovel, wheelbarrow, mattock
- Rake
- Corded or cordless drill/drivers
- 2 Pressure-treated 2x8s (12ft)
- 22 Pressure-treated 5/4×6 decking boards (12ft)
- Concrete blocks
- Tape measure
- Speed square
- Carpenter’s level
- Circular saw
- 2 Pressure-treated 2x8s (12 ft)
- 10 Pressure-treated 2x8s (10 ft)
- 3 1/2-inch or 2 1/2-inch deck screws
2. Step 2: Prepare the deck area
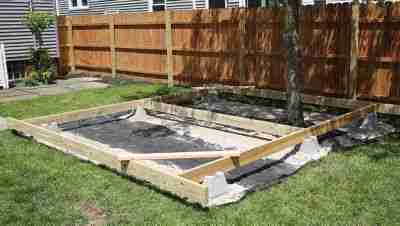
Clear the area where the deck will be placed, as needed, by removing grass and other organic material. Rake the ground nice and level, then tamp it down thoroughly with your feet or a hand tamp tool. To prevent weed growth under the deck, lay down landscape fabric over the soil and add a layer of gravel if desired.

3. Set out foundation blocks layout and then, blocks
Place four concrete blocks in a rectangle such that they are 12 feet apart along the long sides and 10 feet apart along the short sides, measured from the blocks’ centers.
A block should be placed between each pair of corner blocks to ensure that they are appropriately spaced. Add one or more blocks to the middle of the rectangle if desired. This can give the deck a more solid feel, but it isn’t required for the internal joists to be supported.
To ensure that all of the blocks are level, use a 6-foot level or a normal (4-foot or 2-foot) level and a straight 12-foot-long board. To level the blocks, add or remove gravel beneath them as needed.
4. Build the Outer Frame
For the deck frame, clear a flat section of lawn (or use a garage floor or driveway). You can even build the deck on top of the concrete blocks if necessary. Using a circular saw or a power mitre saw, cut 10 pressure-treated 2×8 boards to length at 117 inches; these are the standard joists.
Measure the two 12-foot 2x8s and reduce them to exactly 144 inches if they’re longer than that (lumber often runs a fraction of an inch longer than the nominal dimension; in this case, 12 feet). The end joists are the ones that are the longest. To make a 120-inch-by-144-inch rectangle, place the two end joists over the ends of two of the regular joists.
Clear a flat patch of turf for the deck frame (or use a garage floor or driveway). If necessary, you can even create the deck on top of the concrete blocks. Cut 10 pressure-treated 2×8 boards to length at 117 inches with a circular saw or a power mitre saw; these are the typical joists.
If the two 12-foot 2x8s are longer than that, cut them down to exactly 144 inches (lumber often runs a fraction of an inch longer than the nominal dimension; in this case, 12 feet). The longest joists are toward the end of the structure. Place the two end joists over the ends of two normal joists to create a 120-inch-by-144-inch rectangle.
5. Position and square the deck frame
Place the deck frame on top of the concrete blocks, with the frame components resting on the block centres. Between opposing corners, take a diagonal measurement. Push diagonally from opposite corners to square up the frame as needed (this takes two people). The frame is square when the diagonal measures are equal.

6. Make sure the blocks are set correctly
Confirm that the deck structure is level and that each concrete block is in solid contact with it. To alter the height of the blocks, add or remove dirt or gravel beneath them as needed.
7. Install the remaining joists
Follow the layout lines to install the remaining six standard joists. Keep the standard joists flush with the tops of the end joists at all times. This guarantees that the deck boards are perfectly flat.
8. Install the Deck Boards
Finally, measure all of the 12-foot-long deck boards and cut any that aren’t 144 inches in length. Place one deck board flush with the outer face of the end joist along one long side of the deck frame. Alternatively, for a finished look, lay the first and last boards 1 inch or so overhanging the end joists; just keep in mind that you won’t have the same overhang at the sides of the frame.
Drill two pilot holes, one into the end joist and the other into the standard joist, aligned with each standard joist. To avoid interfering with the frame screws, place the holes slightly off-center. Use 2-inch deck screws (for 1-inch-thick lumber) or 2 1/2-inch screws (for 1 1/2-inch-thick lumber) to secure the deck board to the joists.
Install the next deck board in each standard joist with two screws, spacing the two deck boards by about 1/8 inch. Apply the same techniques to the remaining deck planks, evenly spacing them.
Final thoughts:
If you want to design your own deck, you’ll need deck building plans. Having these plans is like having someone to walk you through the entire deck-building process. If you don’t have a plan in place, your DIY project might quickly devolve into a disaster. This is why many DIY enthusiasts believe purchasing a plan to be a worthwhile investment.
Even if you are not a DIY enthusiast, deck construction designs can be beneficial. Simply select a reputable contractor and instruct him to construct the deck you desire based on your blueprints. You’ll still have some control over how your deck looks this way.


