
Classic Chili Con Carne
Every family seems to have their own way of making chili. This is the version I keep coming back to because it never lets me down.
A good pot of chili isn’t about piling in every spice you own. It’s about giving the beef, onions, tomatoes, and beans enough time to become something better together.
The sauce thickens, the flavours settle down, and suddenly you find yourself sneaking a spoonful before dinner’s even served.
I nearly always make a big batch because it’s one of those meals that somehow tastes even better the next day.
The leftovers end up in baked potatoes, over fries, stuffed into wraps, or simply reheated with another bowl of rice. It never feels like the same meal twice.
When it finally hits the table, everyone does the same thing. A spoonful of sour cream, a little chopped parsley if I’ve got some, then straight in.
It’s hearty without being heavy, full of rich tomato flavour, and exactly the sort of dinner that doesn’t need much fuss.
Just a bowl, a spoon, and maybe a slice of buttered bread to mop up what’s left.
Why You’ll Love This Recipe
- Rich, hearty and packed with beef in every bite.
- Thick tomato sauce that’s full of flavour.
- Made with simple supermarket ingredients.
- Ready mostly hands-off once it starts simmering.
- Great for meal prep and freezer meals.
- Even better the following day.
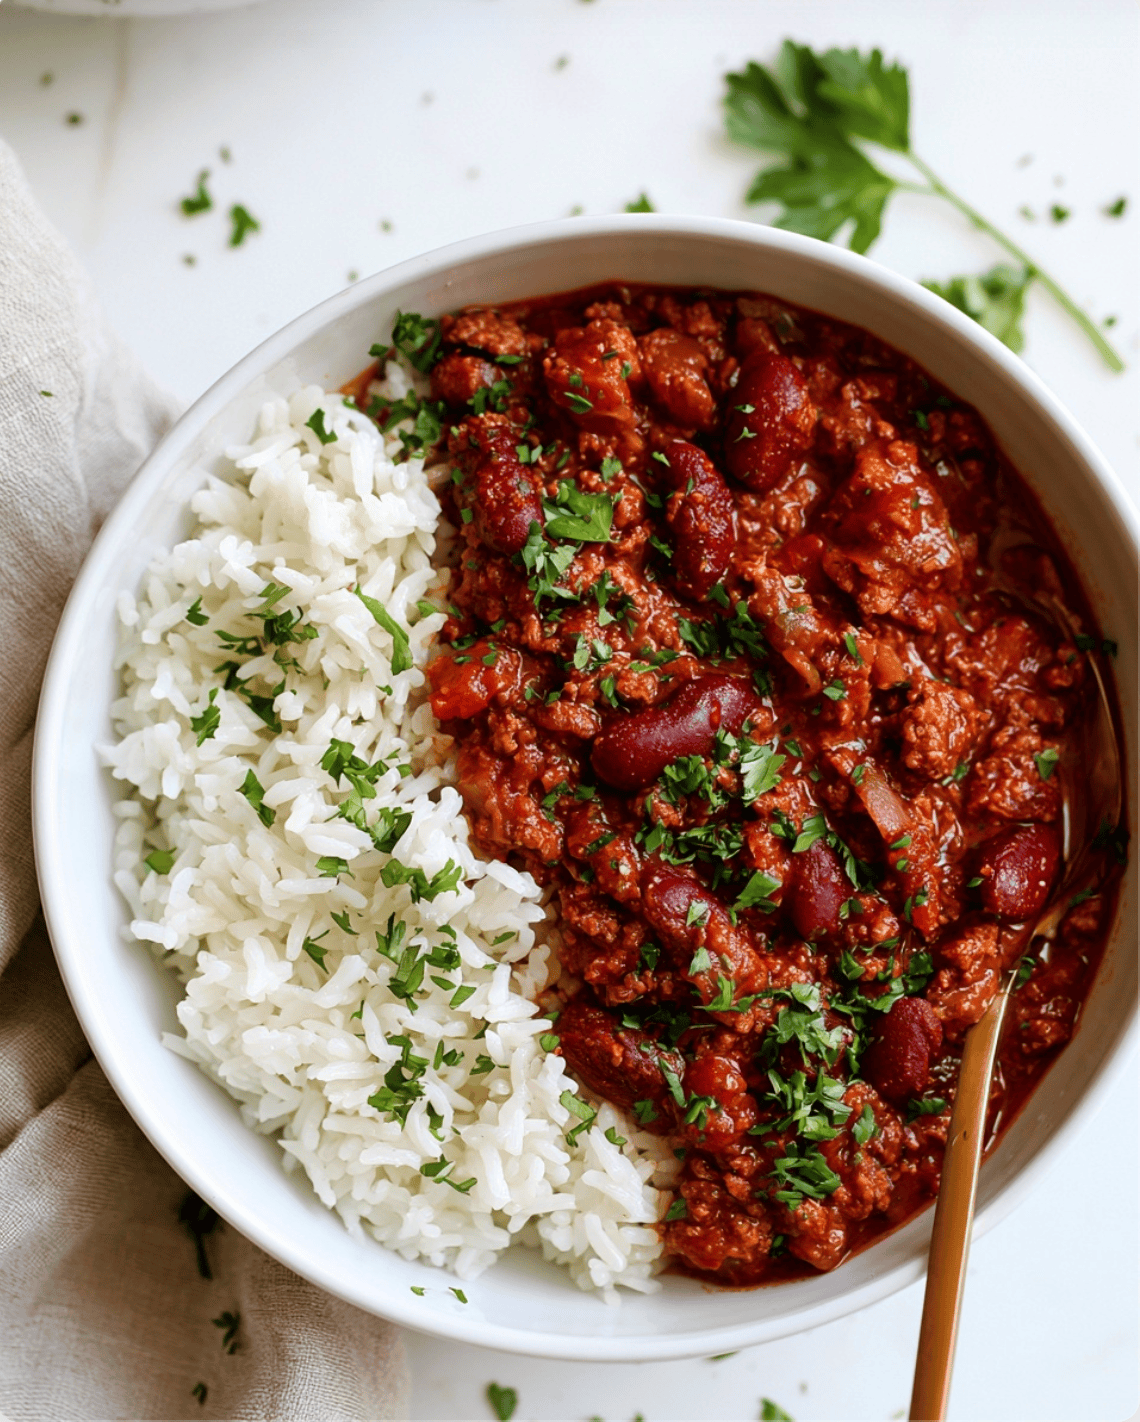
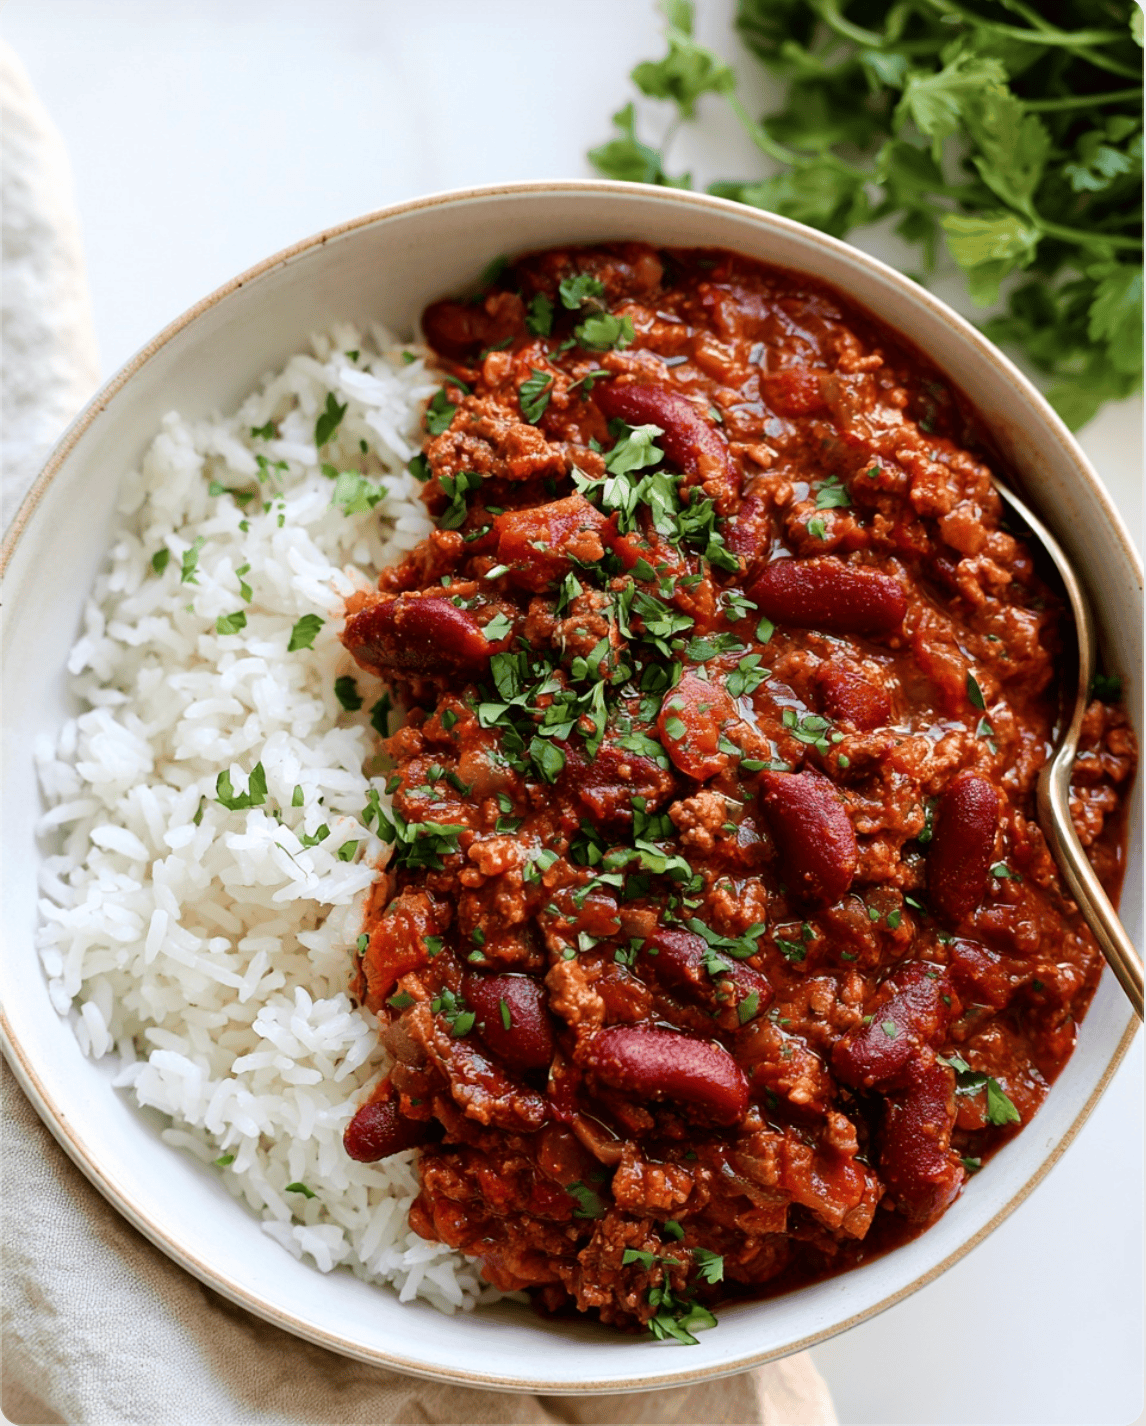
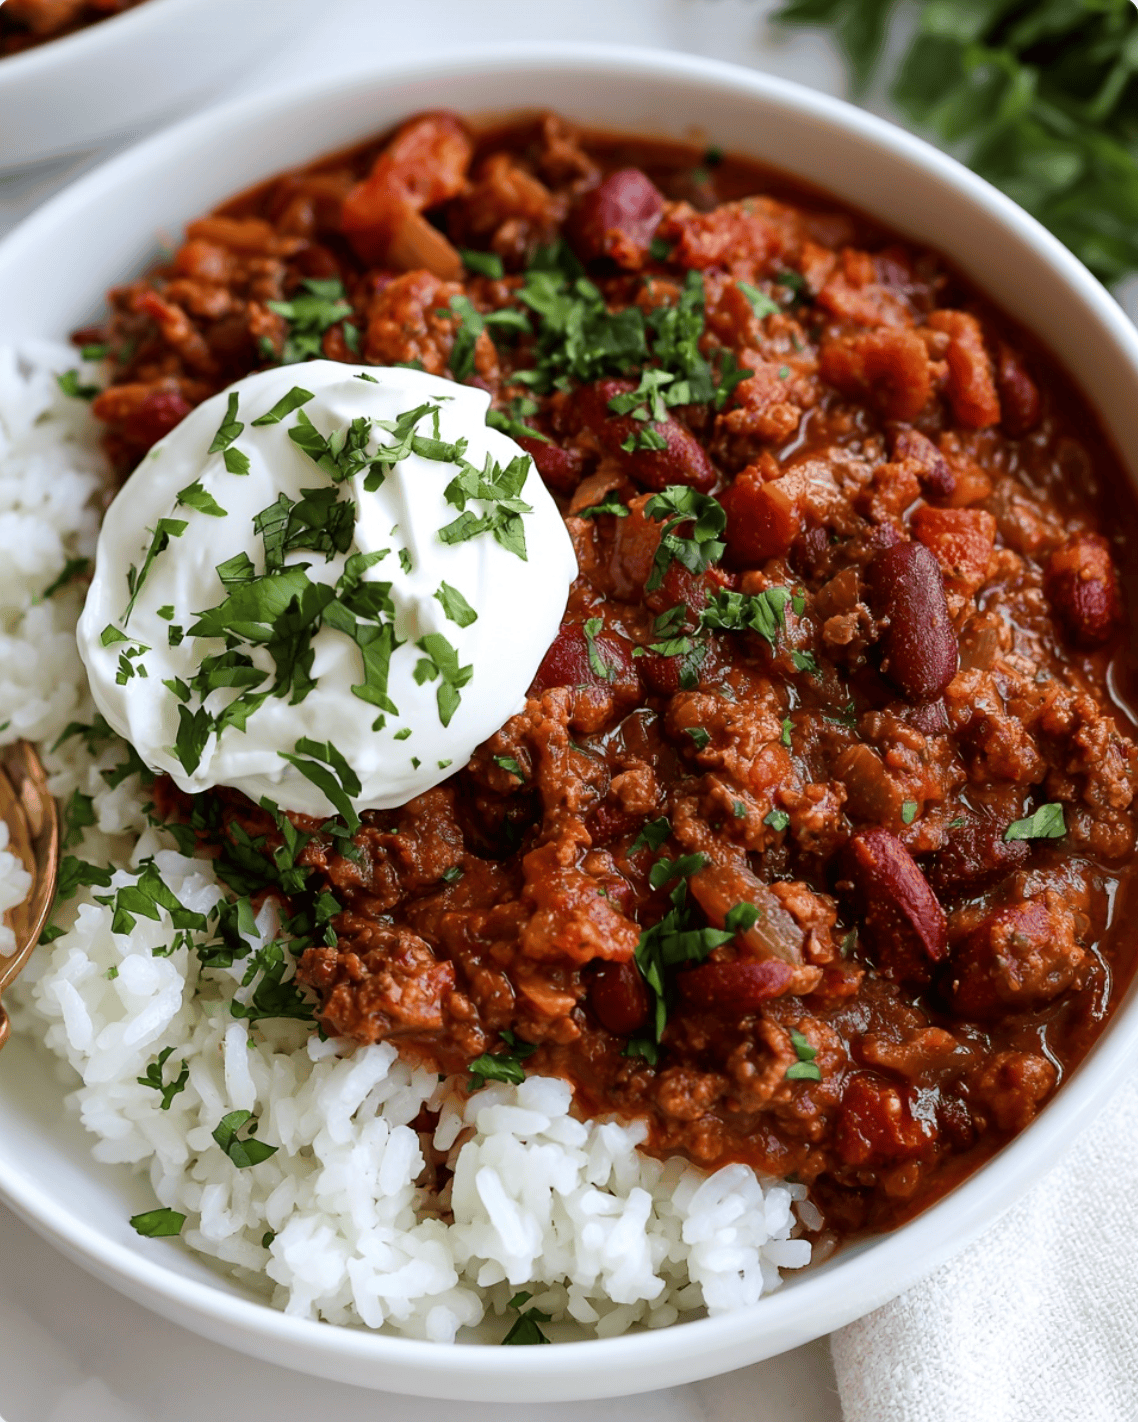
- Served exactly like the photos with fluffy rice, fresh cilantro and optional sour cream.
Ingredients
For the Chili
- 2 tablespoons olive oil
- 1 large onion, finely diced
- 4 garlic cloves, minced
- 750g lean beef mince (10-15% fat)
- 2 tablespoons tomato purée
- 2 teaspoons smoked paprika
- 2 teaspoons ground cumin
- 1 teaspoon dried oregano
- 1 teaspoon mild chilli powder (or more if you like extra heat)
- ½ teaspoon ground coriander
- ½ teaspoon black pepper
- 1 teaspoon salt
- 400g chopped tomatoes
- 500ml beef stock
- 400g kidney beans, drained and rinsed
- 1 teaspoon Worcestershire sauce
- 1 teaspoon brown sugar (optional)
For the Rice
- 300g long-grain white rice
- Cold water for rinsing
- 600ml water
- ½ teaspoon salt
To Serve
- Sour cream
- Fresh chopped cilantro
- Extra black pepper
Equipment
- Large Dutch oven or deep saucepan
- Medium saucepan with lid
- Wooden spoon
- Fine mesh sieve
How to Make Classic Chili Con Carne
Step 1: Brown the beef properly
Heat the olive oil in a large heavy pot over medium-high heat.
Add the diced onion and cook for about 5 minutes until softened.
Stir in the garlic and cook for another minute.
Add the beef mince.
Break it up with a wooden spoon and continue cooking until all the meat has browned.
Don’t rush this step.
Allow the mince to sit for short periods without stirring so it develops deep brown colour. That’s where much of the flavour comes from.
Drain away excess fat if necessary.
Step 2: Build the sauce
Stir in the tomato purée.
Cook it for about two minutes until it darkens slightly.
Add:
- smoked paprika
- cumin
- oregano
- chilli powder
- coriander
- salt
- pepper
Cook for another minute until fragrant.
Pour in the chopped tomatoes and beef stock.
Add the Worcestershire sauce.
If your tomatoes taste quite acidic, stir in the brown sugar.
Bring everything to a gentle simmer.
Step 3: Let it slowly cook
Reduce the heat to low.
Cover loosely with a lid.
Allow the chili to simmer gently for around 45 minutes, stirring every 10 to 15 minutes.
The sauce will slowly reduce and become much richer.
Step 4: Add the kidney beans
Once the beef is tender and the sauce has thickened, stir in the drained kidney beans.
Continue cooking for another 15 minutes.
The beans should be heated through while still holding their shape, just like in the photos.
Taste and adjust the seasoning if needed.
Step 5: Cook the rice
While the chili finishes cooking, prepare the rice.
Place the rice into a fine sieve or bowl.
Rinse under cold water several times until the water runs almost clear.
This removes excess starch and helps keep the grains fluffy rather than sticky.
Transfer the rinsed rice to a saucepan.
Add the water and salt.
Bring to a boil over medium-high heat.
Once boiling, immediately reduce to the lowest heat.
Cover with a tight-fitting lid.
Cook for 12 minutes.
Remove the pan from the heat without lifting the lid.
Leave it to steam for another 10 minutes.
Fluff gently with a fork before serving.
Step 6: Serve
Spoon the fluffy rice into one side of each serving bowl.
Ladle the chili alongside the rice just as shown in the photos.
Finish with plenty of chopped cilantro.
If you like, add a generous dollop of sour cream on top.
Serve immediately.
Tips for the Best Chili
Brown the beef well
Grey mince means missing flavour.
Let the beef caramelise before stirring.
Simmer gently
Good chili isn’t rushed.
The longer it gently cooks, the richer and thicker it becomes.
Rinse the beans
Always rinse canned kidney beans to remove the starchy canning liquid.
Rinse the rice
It only takes a minute but gives beautifully separate grains.
Let the chili rest
Five or ten minutes off the heat helps the sauce thicken even more.
Easy Variations
- Add diced red peppers with the onions.
- Stir in sweetcorn near the end.
- Add chipotle paste for a smoky kick.
- Use beef chuck instead of mince for a chunkier chili.
- Swap half the beef for turkey mince.
- Sprinkle grated cheddar over the top before serving.
What to Serve With Chili Con Carne
Although rice is the classic choice, there are plenty of other options.
- Garlic bread
- Cornbread
- Tortilla chips
- Baked potatoes
- Loaded fries
- Green salad
- Avocado slices
Storage
Allow the chili to cool completely before refrigerating.
Store the chili and rice separately if possible.
The chili keeps well for up to 4 days.
The rice is best eaten within 3 days.
Freezing
The chili freezes exceptionally well.
Cool completely before transferring to freezer-safe containers.
Freeze for up to 3 months.
Rice can also be frozen, although freshly cooked rice has the best texture.
Reheating
Warm the chili gently in a saucepan over medium heat.
Add a splash of beef stock or water if it has thickened too much.
Microwave or gently reheat the rice with a tablespoon of water to restore moisture.
Frequently Asked Questions
Can I make chili the day before?
Absolutely. Many people think chili tastes even better after sitting overnight because the flavours have more time to develop.
Can I use dried kidney beans?
Yes, but they must be soaked overnight and cooked fully before adding them to the chili.
Never add uncooked dried kidney beans directly to the pot.
Can I make it in a slow cooker?
Yes.
Brown the beef and onions first, then transfer everything except the kidney beans to the slow cooker.
Cook on Low for 6 to 8 hours or High for 4 hours.
Add the kidney beans during the final 30 minutes.
How spicy is this recipe?
It’s fairly mild.
If you enjoy more heat, add extra chilli powder, fresh red chilli or a pinch of cayenne pepper.
Can I freeze leftovers?
Yes.
The chili freezes beautifully for up to three months.
Why is my chili watery?
It probably just needs a little longer to simmer uncovered.
The liquid naturally reduces into a rich, thick sauce.
Final Thoughts
There’s a reason chili con carne has been a family favourite for generations.
It’s inexpensive, filling, easy to make and somehow tastes even better every time it’s reheated.
Served with fluffy white rice, fresh cilantro and a spoonful of cool sour cream, it’s the kind of meal that never really goes out of style.
Once you make it this way, it’ll probably become the version you come back to whenever you’re craving a proper bowl of comfort food.