Crispy Fish and Chips
I wanted fish and chips with a proper crunch, not a sad coating that goes soft the second it hits the plate.
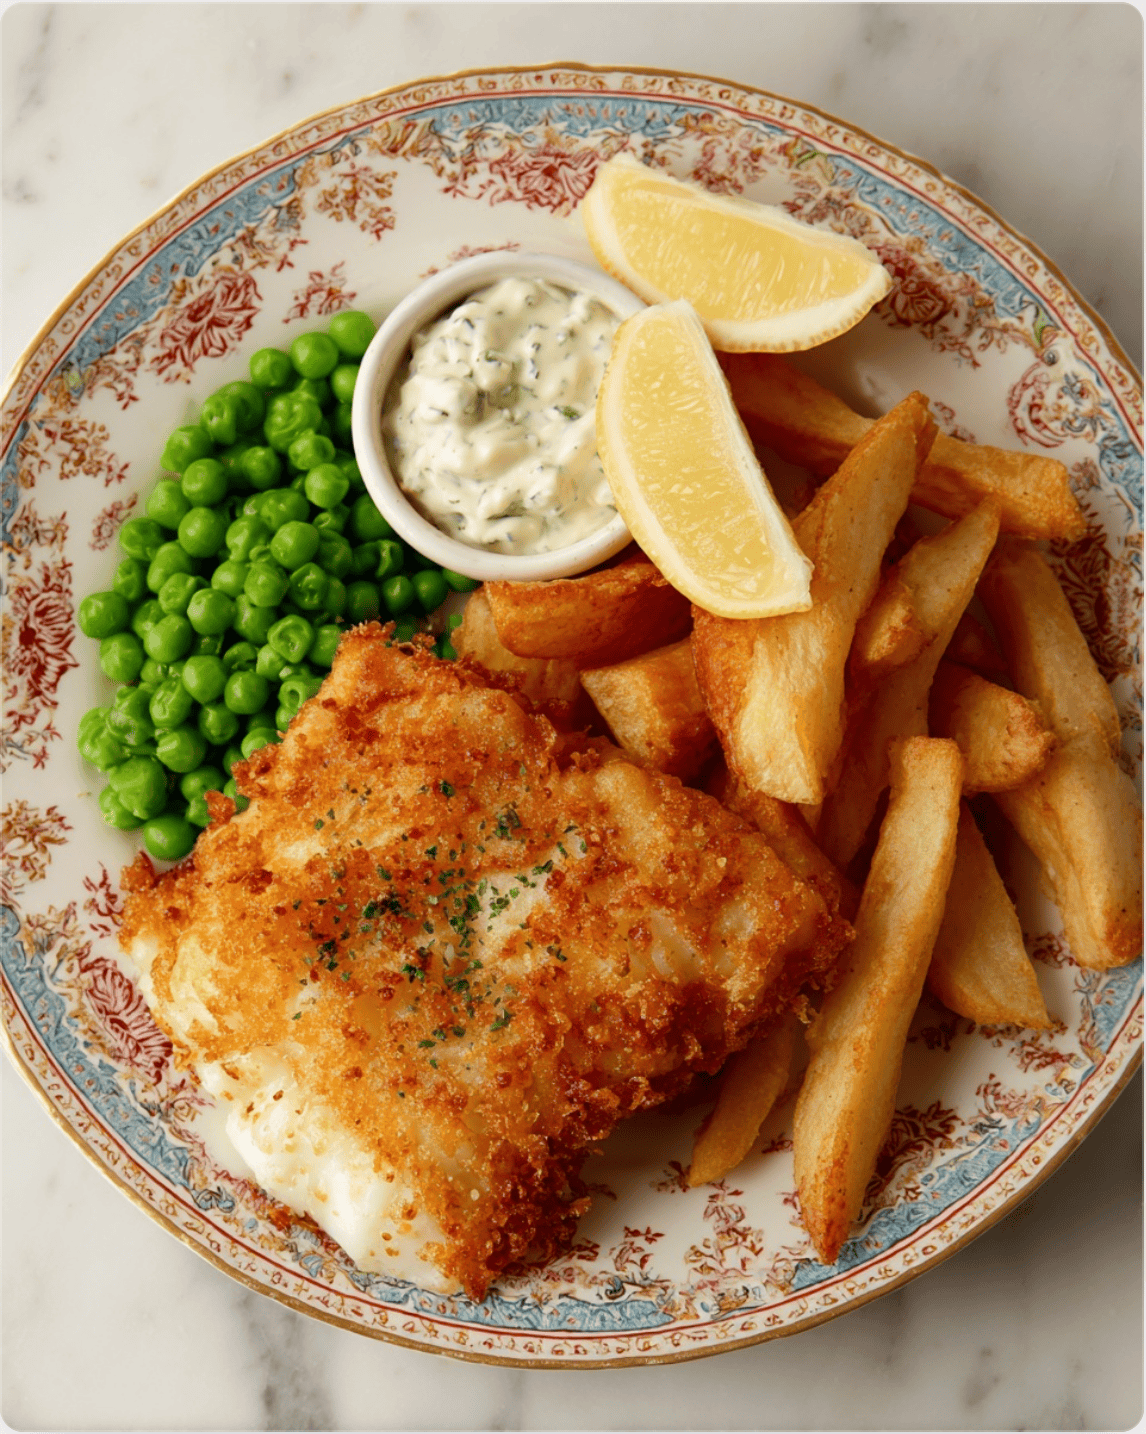
This version gives you golden fish, chunky chips, peas, lemon, and plenty of tartar sauce for dragging everything through.
Fish and chips is one of those dinners where the little things matter.
The fish needs to stay juicy inside, the coating has to be crisp enough that you can actually hear it when you cut in, and the chips need those browned edges with fluffy middles.
I keep the rest simple because there’s really no need to start showing off.
A pile of peas, a couple of lemon wedges, and a generous spoonful of tartar sauce are exactly what belong next to it.
I’m also firmly in the camp of squeezing lemon over the fish first, then adding more halfway through because apparently one wedge is never enough.
It’s familiar, comforting, and very difficult to eat politely.
Page Contents
ToggleWhy You’ll Love This Recipe
- The fish stays flaky and tender under a crisp, golden coating.
- The chips are thick, rustic, and properly satisfying.
- It feels like proper comfort food without being fussy.
- The tartare sauce and lemon make the plate taste complete.
- It is classic, crowd-pleasing, and much easier to make than people think.
- It gives you that proper chip-shop-style dinner feeling at home.
Ingredients
This makes about 4 servings.
For the fish
- 4 white fish fillets, such as cod or haddock
- Salt and black pepper
- 1 cup plain flour
- 1 teaspoon baking powder
- 1 teaspoon salt
- 1 teaspoon cracked black pepper
- 1 teaspoon garlic powder
- 1/2 teaspoon onion powder
- 2 large eggs
- 1 1/4 cups cold sparkling water or cold beer
- 1 1/2 cups breadcrumbs or panko
- Oil, for frying
For the chips
- 4 large potatoes, peeled and cut into thick chips
- 2 tablespoons vegetable oil
- Salt, to taste
For the peas
- 2 cups peas
- 1 tablespoon butter
- Salt and black pepper, to taste
For the tartare sauce
- 1/2 cup mayonnaise
- 1 tablespoon finely chopped pickles or gherkins
- 1 teaspoon capers, finely chopped
- 1 teaspoon lemon juice
- 1 tablespoon finely chopped parsley or dill
- Salt and black pepper, to taste
To serve
- Lemon wedges
A Few Notes Before You Start
Use a firm white fish here.
Cod and haddock are the obvious choices, and both work beautifully because they stay flaky and mild without falling apart into sadness.
The coating in this version is crisp and golden, with a little seasoning built in, so the outside actually tastes like something instead of acting like bland packaging.
The chips are thick rather than skinny.
That matters.
Thin fries would be fine, but this plate wants chunky chips with fluffy middles and a proper golden edge.
How to Make the Tartare Sauce
I like making this first so it can sit in the fridge while everything else comes together.
That little bit of time helps the flavour settle and makes it taste less like ingredients meeting for the first time.
- In a small bowl, add the mayonnaise.
- Stir in the chopped pickles or gherkins.
- Add the chopped capers.
- Add the lemon juice.
- Add the chopped parsley or dill.
- Season with a pinch of salt and black pepper.
- Stir until smooth and combined.
- Cover and chill until needed.
It should taste creamy, tangy, and sharp enough to cut through the fried fish.
If it tastes flat, add a tiny squeeze more lemon.
How to Prepare the Chips
Thick chips need a little care if you want them golden outside and soft in the middle.
The easiest way is to give them a quick parboil first.
- Preheat your oven to 220°C.
- Bring a large pot of salted water to a boil.
- Add the thick-cut potatoes.
- Boil for 5 to 6 minutes.
- Drain them well.
- Leave them to steam dry for a few minutes.
- Tip them onto a baking tray.
- Drizzle with the vegetable oil.
- Toss gently with salt.
- Roast for 35 to 45 minutes, turning once halfway through, until golden and crisp.
You want chips with a proper roasted look, not pale potatoes pretending to be chips.
The edges should have a little colour and the centres should stay soft.
How to Make the Peas
This part is refreshingly low-effort.
- Add the peas to a small saucepan with a splash of water.
- Cook for 2 to 3 minutes until just tender.
- Drain well.
- Stir in the butter.
- Season with salt and black pepper.
- Lightly crush some of them with a fork if you want that soft, rustic texture.
I do not mash them into a complete paste.
I like them a little rougher than that.
You still want some whole peas in the mix so the side has texture instead of turning into green wallpaper paste.
How to Prepare the Fish
Pat the fish dry first.
That simple step helps the coating stick better and fry more evenly.
- Season the fish fillets lightly with salt and black pepper.
- In one bowl, whisk together the flour, baking powder, salt, black pepper, garlic powder, and onion powder.
- In a second bowl, whisk the eggs with the cold sparkling water or cold beer until combined.
- Place the breadcrumbs or panko in a third bowl.
- Dip each fillet into the seasoned flour.
- Coat it well and shake off the excess.
- Dip it into the egg mixture.
- Then coat it in the breadcrumbs, pressing lightly so the coating sticks.
This gives you that lovely crisp finish once fried.
It is not a heavy, thick shell.
It is a crunchy, golden crust that lets the fish stay the star.
Fry the Fish
You can use a deep pan with enough oil for shallow frying, or a fryer if you have one.
- Heat the oil to about 175°C.
- Fry the fish fillets in batches.
- Cook for about 3 to 4 minutes per side, depending on thickness.
- Turn carefully.
- Fry until deeply golden and crisp.
- Transfer to a paper towel-lined plate or wire rack.
Do not crowd the pan.
That is how you end up steaming the fish instead of frying it, which is a deeply annoying way to ruin dinner.
The coating should be crisp and golden, and the fish should flake easily when tested with a fork.
Put the Plate Together
This is the easy, rewarding part.
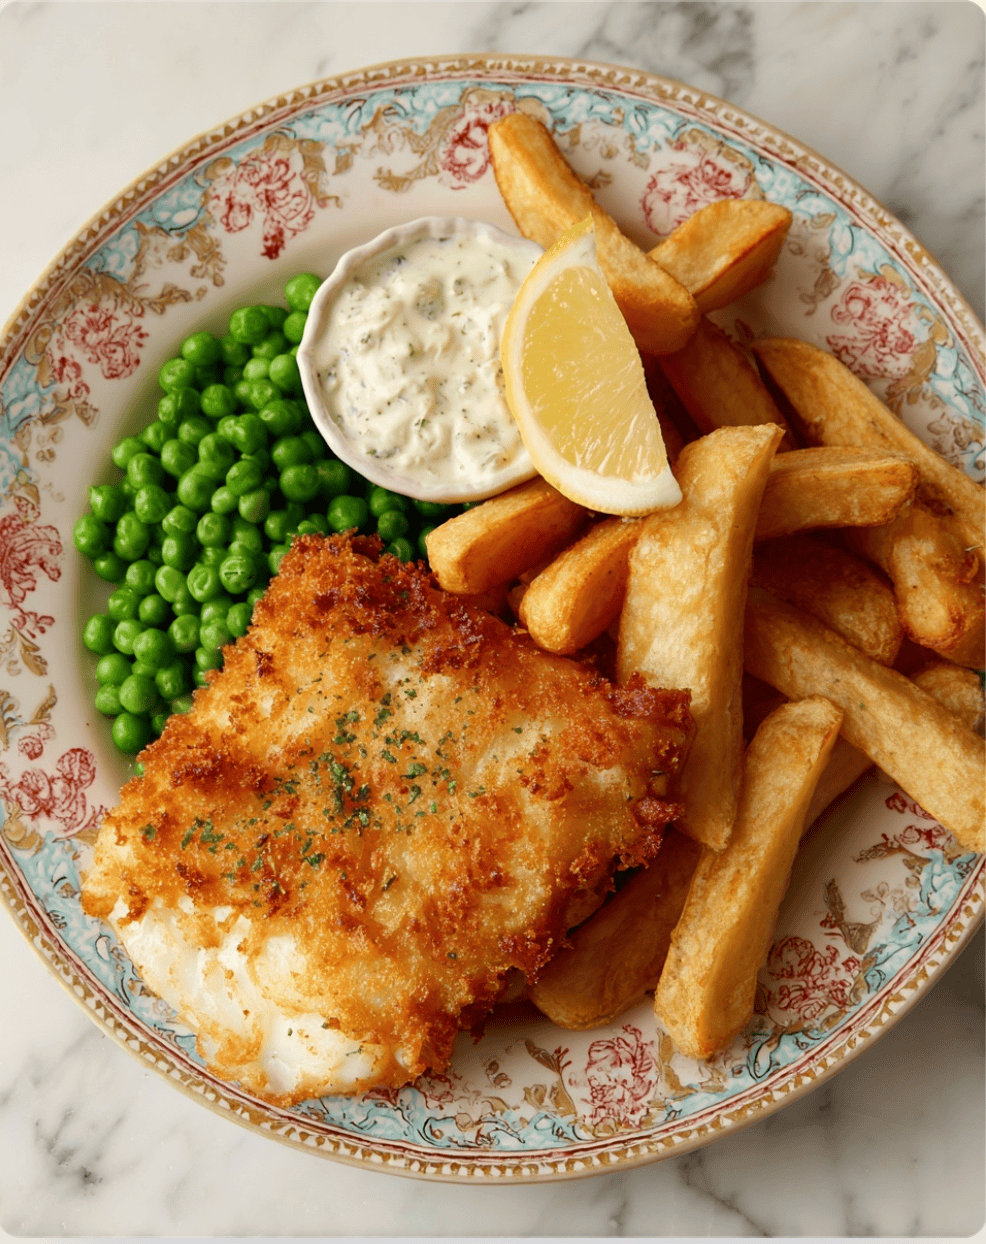
- Add a pile of thick golden chips to each plate.
- Add one crispy fish fillet.
- Spoon the peas on the side.
- Add a little ramekin of tartare sauce.
- Finish with lemon wedges.
That is it.
A proper plate of fish and chips does not need much styling or fussing.
It just needs to be hot, crisp, and ready to eat.
Tips for the Best Fish and Chips
A few small things make a big difference here.
Use cold liquid in the batter mixture.
That helps keep the coating light and crisp.
Dry the fish before coating it.
Wet fillets make the coating slip off, and that is irritating for everybody involved.
Do not underseason the coating.
The fish itself is mild, so the crust needs some actual flavour.
Roast or fry the chips until they have real colour.
Golden means golden, not emotionally golden.
And serve everything straight away.
This is not the kind of dinner that likes to sit around waiting while someone answers emails.
Easy Swaps and Variations
You can keep the same general plate and tweak a few things depending on what you have.
- Use cod, haddock, pollock, or another firm white fish.
- Swap breadcrumbs for panko if you want extra crunch.
- Use oven chips if you need a shortcut.
- Add a pinch of paprika or cayenne to the coating for a little extra kick.
- Stir chopped dill into the tartare sauce if you want a fresher flavour.
- Use frozen peas without apologising for it.
This is not a precious recipe.
It is classic comfort food, and it should fit into normal life.
What to Serve with It
Honestly, the plate already covers a lot.
You have crisp fish, thick chips, peas, tartare sauce, and lemon.
That is a complete meal in my book.
If you want extras, you could add:
- Coleslaw
- Pickled onions
- A little side salad
- Malt vinegar on the chips
But I would not overcomplicate it.
This meal works because it knows what it is.
Storage and Reheating
Fish and chips is best fresh.
That is just the truth.
Still, if you do have leftovers, they can be saved.
- Store the fish, chips, and peas separately in airtight containers in the fridge.
- Eat within 1 to 2 days.
To reheat:
- Reheat the fish in the oven or air fryer until hot and crisp.
- Reheat the chips the same way.
- Warm the peas gently in a small pan or microwave.
I would not microwave the fish if you want the coating to stay crisp.
Technically you can.
Emotionally, I would not recommend it.
Q&A
What fish works best for fish and chips?
Cod and haddock are the best-known options, and both are great here.
Any firm white fish that flakes nicely will work.
Can I make the fish in the oven instead?
You can, but the texture will be different.
It will still be tasty, though you will not get quite the same crisp fried finish.
Can I air fry the fish?
Yes, especially if you are using a breadcrumb coating like this one.
Spray it lightly with oil and cook until golden and cooked through.
Do I have to make tartare sauce from scratch?
No.
Store-bought tartare sauce is absolutely fine if you need dinner on the table faster.
Can I use frozen fish?
Yes, but thaw it fully and pat it very dry before coating.
Too much moisture is the enemy of crispness.
Why are my chips not crispy?
Usually they needed more drying, more space on the tray, or more time in the oven.
Crowded chips steam instead of roast.
Can I make the peas smoother?
Of course.
Mash them more if you like a softer mushy-pea texture.
Final Thoughts
This fish and chips recipe is proper comfort food.
The fish is flaky and tender, the coating is crisp and golden, the chips are thick and satisfying, and the tartare sauce pulls the whole thing together.
The peas and lemon are not just there for decoration either.
They give the plate that little bit of balance so it does not feel too heavy.
It is simple food, but simple in the good way.
The kind that people get weirdly quiet while eating because they are too busy enjoying it.
And honestly, that is usually the best sign dinner went well.