Mexican-Style Three Bean Chilli
Smoky, rich and properly hearty, this three bean chilli is the sort of dinner that makes a bowl of plain rice suddenly very exciting.
Chargrilled red peppers, three kinds of beans and a deeply spiced tomato sauce give it all the comfort of chilli con carne, just without the carne.
There are bean chillies that taste suspiciously like someone tipped three tins into tomato sauce and hoped cumin would sort everything out.
This is not one of those.
The sauce is thick, dark and savoury, with sweet charred red pepper running through it and enough spice to make the beans taste like part of the dish rather than merely something floating around in it.
Kidney beans bring that classic chilli feel, while pinto and cannellini beans make the texture much more interesting.
Some beans stay whole, some soften into the sauce, and a few get deliberately crushed while everything simmers.
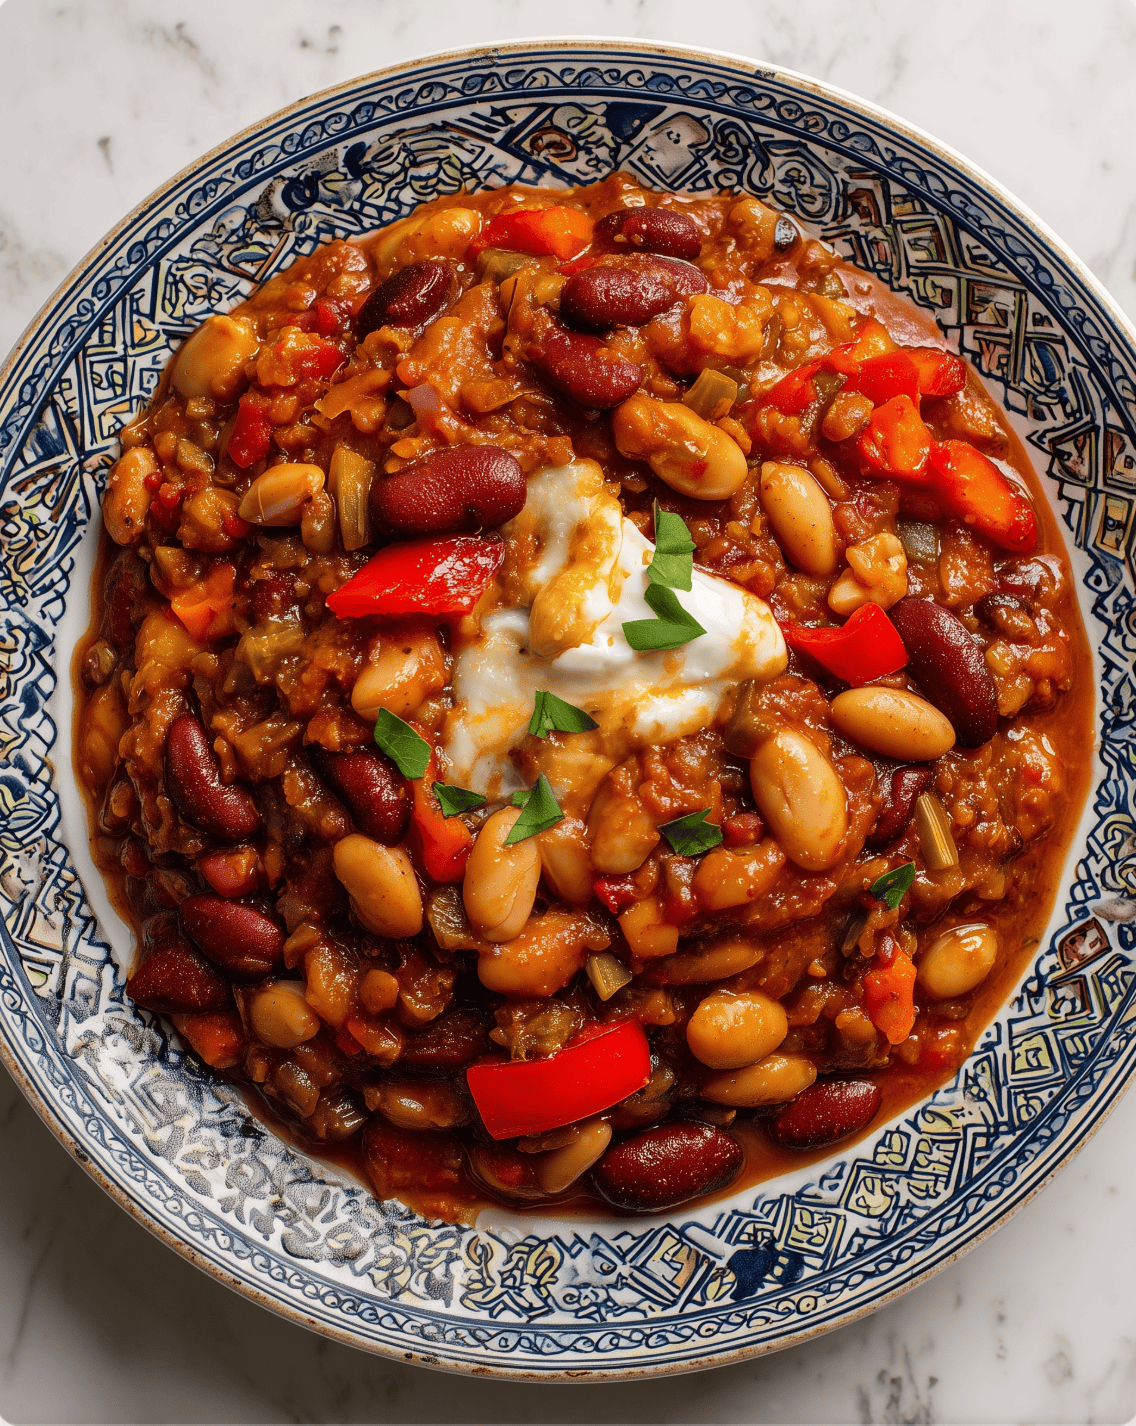
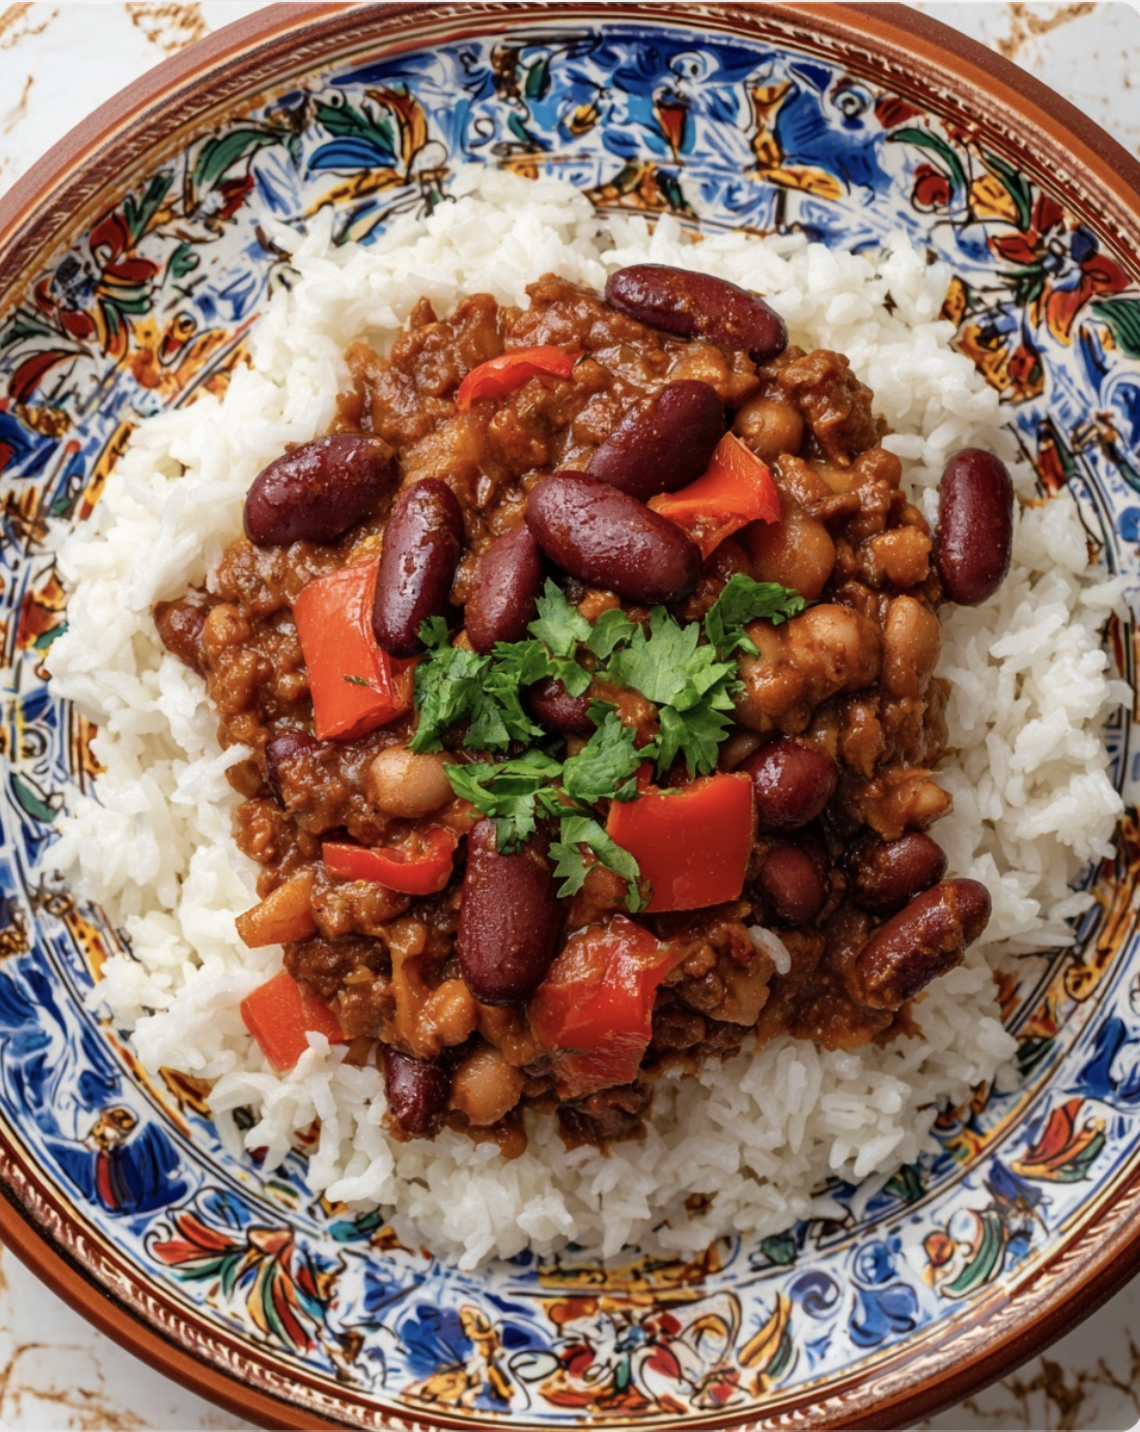
That last little trick is what gives the chilli the thick, almost slow-cooked texture you can see in the photos without needing meat or a packet of mystery thickener.
Serve it piled generously over fluffy white rice, or spoon it straight into a bowl with a dollop of vegan sour cream if you want something even cosier.
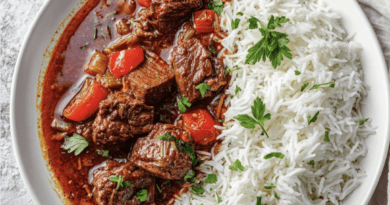
One small note on the photos: the first two show the chilli served over rice with fresh coriander, while the third is served on its own with a creamy topping.
Both serving styles work, so I’ve included them as options rather than making the sour cream part of the chilli itself.
Page Contents
ToggleWhy Three Beans Work Better Here
One bean would technically do the job, but three gives the chilli much better texture.
Kidney beans are firm and meaty, which is exactly why they turn up in chilli so often.
Pinto beans are softer and slightly creamy inside, so they begin to melt into the sauce as the chilli cooks.
Cannellini beans are milder and buttery, giving you those larger pale beans visible throughout the finished dish.
If you want the chilli to look like the photos, don’t stir it so aggressively that every bean breaks apart.
You want a thick sauce, but you still want plenty of glossy whole beans sitting on top when it reaches the table.
Ingredients
This makes around 4 generous servings.
- 2 large red bell peppers
- 1 tablespoon olive oil, plus a little extra for the peppers
- 1 medium brown onion, finely diced
- 1 celery stalk, finely diced
- 3 garlic cloves, minced
- 1 fresh red chilli, finely chopped, or ½ teaspoon chilli flakes
- 1 tablespoon tomato paste
- 1 teaspoon ground cumin
- 1 teaspoon smoked paprika
- 1 teaspoon ground coriander
- ½ teaspoon dried oregano
- ¼ teaspoon ground cinnamon
- 1 x 400g tin chopped tomatoes
- 200ml vegetable stock
- 1 x 400g tin kidney beans, drained and rinsed
- 1 x 400g tin pinto beans, drained and rinsed
- 1 x 400g tin cannellini beans, drained and rinsed
- 1 teaspoon brown sugar or maple syrup
- 1 teaspoon soy sauce
- Juice of ½ lime
- Fine sea salt, to taste
- Freshly ground black pepper
- Small handful fresh coriander, roughly chopped
For serving
- Cooked long-grain white rice
- Extra fresh coriander
- Lime wedges
- Vegan sour cream, optional
Chargrill the Red Peppers First
This is the bit I wouldn’t skip.
You could throw raw red pepper straight into the pan, but roasting or charring it first gives the chilli a sweeter, smokier flavour that fits the darker sauce much better.
It also gets you those soft but still visible red pepper pieces in the photos.
Cut the peppers into chunky pieces and remove the seeds and white membrane.
Toss them very lightly with oil.
Place them under a very hot grill, on a griddle pan or in a dry cast-iron pan until the edges blister and pick up a few dark charred patches.
You’re not trying to turn the whole pepper black.
A little scorching around the edges is plenty.
Let the peppers cool slightly, then cut them into chunky bite-sized squares.
Set about one-quarter aside to stir through near the end.
That keeps a few pieces bright red and distinct instead of letting all of them disappear into the sauce.
How to Make Three Bean Chilli
- Heat 1 tablespoon of olive oil in a large heavy-based saucepan over medium heat.
- Add the diced onion and celery with a small pinch of salt.
- Cook for 7 to 8 minutes, stirring occasionally, until the onion is soft and beginning to turn golden around the edges.
- Add the garlic and fresh chilli, then cook for another minute.
- Stir in the tomato paste and cook it for about 2 minutes.
This might seem fussy, but frying tomato paste takes away that raw, acidic taste and gives the sauce a noticeably deeper flavour.
- Add the cumin, smoked paprika, ground coriander, oregano and cinnamon.
- Stir for 30 seconds, just until everything smells ridiculously good.
Watch the heat here because spices can go from toasted to burnt rather quickly.
- Add the chopped tomatoes, vegetable stock, brown sugar and soy sauce.
The soy sauce isn’t there to make the chilli taste remotely Asian.
It simply adds a little savoury depth that meat would normally bring to a traditional chilli.
- Add all three drained beans along with roughly three-quarters of the chargrilled peppers.
- Stir well and bring the mixture to a gentle simmer.
- Reduce the heat to low and leave it uncovered for 25 to 35 minutes, stirring every so often.
The chilli should gradually change from fairly loose and tomatoey to thick, glossy and almost spoon-standing territory.
The Trick to Getting That Thick Texture
About halfway through cooking, use the back of your wooden spoon to crush some of the beans against the side of the saucepan.
Not all of them.
Around half a cup’s worth is enough.
Stir those crushed beans back into the chilli and let it continue simmering.
Their starch naturally thickens the sauce and gives it that dense, almost ragù-like consistency without adding flour or cornstarch.
If the chilli gets too thick before the beans are tender and the flavours have settled, add a splash of vegetable stock.
If it still looks too loose after 30 minutes, leave it bubbling uncovered for another 5 to 10 minutes.
Chilli is forgiving like that.
Finish It Properly
Once the sauce is thick, stir through the reserved chargrilled red pepper.
Add the lime juice and taste before reaching for more salt.
The beans, vegetable stock and soy sauce all bring their own saltiness, so seasoning at the end makes much more sense than enthusiastically salting the pot at the beginning.
Add black pepper and more lime if it needs brightness.
If your tomatoes were particularly sharp, another tiny pinch of brown sugar can help.
The final flavour should be savoury and smoky first, gently sweet from the peppers and tomatoes, then warm with cumin and chilli.
It shouldn’t taste sugary, and it shouldn’t be aggressively spicy unless you want it that way.
What to Serve With It
For the version closest to the first two photos, spoon the chilli over a generous bed of fluffy white rice and scatter fresh coriander across the middle.
I like rice here because the chilli itself has so much going on that you really don’t need a complicated side.
For the bowl-style version in the third photo, serve the chilli without rice and add a spoonful of vegan sour cream in the centre.
A little lime juice over the top is excellent too.
You could also serve it with warm tortillas, tortilla chips, guacamole or sliced avocado.
If you’re feeding people with wildly different chilli tolerances, keep sliced jalapeños or hot sauce on the table rather than making the entire pot volcanic.
Much easier.
Can I Make It Ahead?
Absolutely, and I’d argue that chilli is one of those rare dinners that behaves even better after a night in the fridge.
Once cooled, keep it in an airtight container in the refrigerator for up to 4 days.
Reheat it gently on the stove, adding a tablespoon or two of water or vegetable stock because the beans will continue absorbing liquid as they sit.
It also freezes well for up to 3 months.
Freeze the chilli separately from the rice if possible, then thaw it overnight in the refrigerator before reheating.
A Few Things That Make a Big Difference
Don’t rush the onions.
Those first few minutes in the pan are where you start building the savoury sweetness that makes the finished chilli taste like it has simmered far longer than it actually has.
Don’t drown the beans in stock either.
This is supposed to be a thick chilli, not bean soup.
Start with the 200ml and only add extra liquid if the pan genuinely needs it.
And definitely keep the pepper pieces fairly chunky.
Tiny diced pepper tends to vanish into the sauce, whereas those larger red pieces give you sweet little pockets of charred pepper in almost every spoonful.
Finally, give the chilli five minutes off the heat before serving.
The sauce settles, thickens slightly and clings to the beans much better.
Then pile it over hot rice, add plenty of coriander and get it to the table while everything is still steaming.
It’s simple food, but when the peppers are properly charred and the sauce has had time to reduce, it tastes anything but boring.